$5 LTD: AppSumo's Xnapper Screenshot Deal is 🔥
Xnapper: A powerful, user-friendly screenshot tool that enhances productivity. Get it now for just $5 on AppSumo - a limited-time offer you don't want to miss!
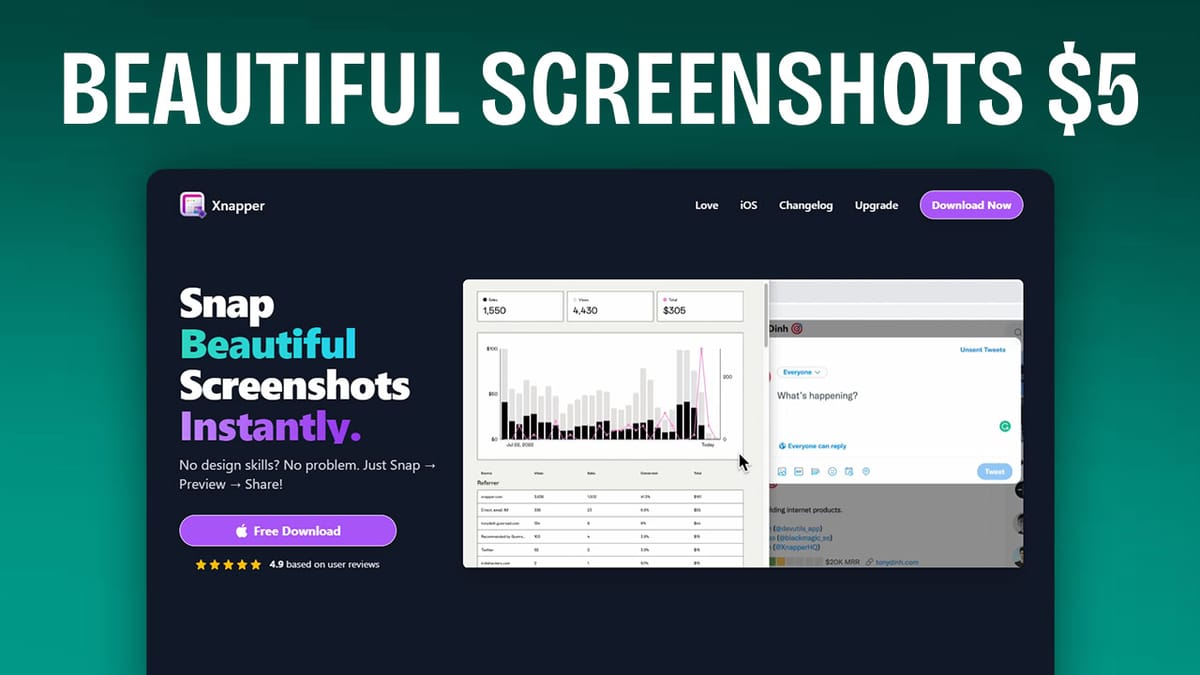
As a tech-savvy entrepreneur, you know the importance of creating professional-looking content quickly and efficiently. Today, I’m excited to introduce you to Xnapper, a Mac-based screenshot tool that’s currently available for just $5 on AppSumo. This tool is a game-changer for anyone who regularly shares screenshots on social media, creates tutorials, or needs to annotate images for team communication.
Introduction [00:00]
Xnapper is more than just a screenshot tool. It’s a complete solution for capturing, editing, and beautifying your screenshots. With features like automatic redaction of sensitive information and AI-powered text detection, Xnapper is designed to streamline your workflow and enhance your productivity.
The best part? Thanks to AppSumo, you can get Xnapper for just $5. But act fast – this is a code-limited deal, so you’ll want to grab it as soon as possible.
Get XnapperUse Cases [00:48]
Let’s look at some practical applications of Xnapper:
- Developers sharing new features: If you’re a developer like Brian Jackson (creator of Perfmatters), you can use Xnapper to create stunning, professional-looking screenshots of your latest features.
- Bloggers capturing social media interactions: Xnapper makes it easy to capture and preserve social media posts, ensuring you have a record even if the original content is deleted or edited.
- Providing design feedback: As someone who works with designers, I find Xnapper invaluable for annotating and providing feedback on design work.
The tool’s intuitive interface allows you to capture screenshots quickly and edit them with just a few clicks. Whether you’re grabbing a full webpage or just a portion of your screen, Xnapper makes the process seamless.
Preferences and Setup [01:55]
Setting up Xnapper is straightforward, but there are a few key preferences you’ll want to configure:
- Custom key commands: By default, Xnapper uses a complex key combination (Control + Option + Command + 4) to take screenshots. I recommend changing this to something simpler, like Control + Shift + X.
- Default save location: Choose where you want your screenshots to be saved automatically.
- Launch at login: Enable this option to ensure Xnapper is always ready when you need it.
- Default file naming: You can set up a naming convention that includes the date, time, and even a unique identifier for each screenshot.
These settings allow you to tailor Xnapper to your specific workflow, making it even more efficient.
Xnapper Editor [03:59]
The Xnapper editor is where the magic happens. Here’s a quick rundown of its key features:
- Aspect ratio presets: Choose from presets for various social media platforms or create your own custom ratios.
- Background options: Select from a variety of backgrounds or use a solid color.
- Padding and inset controls: Fine-tune the spacing around your screenshot.
- Corner rounding and shadow effects: Add a professional touch to your images.
- Watermarking: Easily add your brand or website to each screenshot.
- Presets: Save your favorite configurations for quick access.
The editor is designed to be intuitive, allowing you to create beautiful screenshots in seconds. You can even drag and drop your edited images directly into other applications.
Bottom Bar Settings [07:21]
The bottom bar of the Xnapper editor offers additional functionality:
- Zoom controls: Easily zoom in or out of your screenshot.
- Sharing options: Quickly share your screenshot to various platforms or applications.
- Undo/Redo: Quickly reverse or reapply changes.
These controls make it easy to fine-tune your screenshots and share them instantly.
Annotation [08:33]
Xnapper’s annotation tools are powerful yet easy to use:
- Text: Add text in various sizes and colors.
- Arrows: Choose from different arrow styles to draw attention to specific areas.
- Shapes: Add boxes, circles, or lines to your screenshots.
- Redaction: Manually redact sensitive information.
These tools make it simple to create informative, eye-catching screenshots for tutorials, presentations, or social media posts.
Text Detection [12:17]
One of Xnapper’s most impressive features is its ability to detect and copy text from images. This can be incredibly useful when you need to extract information from screenshots or images quickly.
Redacting Data [13:06]
Xnapper takes data privacy seriously with its redaction features:
- Automatic redaction: Xnapper can automatically detect and redact sensitive information like email addresses, IP addresses, and credit card numbers.
- Manual redaction: You can also manually redact any information you choose.
This feature is crucial for maintaining privacy and security when sharing screenshots, especially in professional contexts.
Extra License Keys [15:04]
If you need Xnapper on multiple devices, you can purchase additional licenses at a discount through the AppSumo deal. This makes it easy to equip your entire team with this powerful tool.
Conclusion [16:19]
Xnapper is an incredibly powerful and user-friendly screenshot tool that can significantly enhance your productivity. Whether you’re creating content for social media, providing feedback on designs, or documenting processes for your team, Xnapper has the features you need to do it quickly and professionally.
At just $5 through AppSumo, it’s an absolute steal. But remember, this is a limited-time offer, so don’t wait too long to grab your copy.
Get XnapperHave you tried Xnapper? What do you think of it? Let me know in the comments below!
For more tech reviews and productivity tips, don’t forget to check out my website at clientamp.com, where you’ll find free email newsletters and online courses to help you boost your productivity and grow your business.


