FreshBooks Setup Guide 2025: Step-by-Step Technical Configuration
Get setup with FreshBooks in 2025 with my comprehensive setup guide to configure everything from payment processing to payroll. Step-by-step instructions ensure your business gets the most from every feature.
Setting up your FreshBooks account properly is crucial for getting the most out of the platform. This technical guide walks you through each configuration step to ensure your business operates smoothly from day one.
🔗 Start your FreshBooks free trial here
Initial Account Setup
Before diving into specific features, take a moment to configure your account basics. After signing up, upload your company logo and customize your dashboard widgets to display your most important metrics. This personalization ensures you'll see the most relevant information every time you log in.
The dashboard's "Create New" button will become your go-to tool for quick actions, so familiarize yourself with its options. You can create new clients, generate invoices, or start projects with a single click.
Configuring Products and Services
Start by setting up your revenue streams in FreshBooks. Navigate to "Items and Services" in the main menu to begin.
Physical Product Configuration
To add physical products to your inventory:
- Navigate to Items and Services
- Select "Create Item"
- Enter the product name and description
- Set your pricing and tax rates
- Enable inventory tracking if needed
- Configure any special pricing or discounts
For each product, consider whether you'll need a checkout link for online sales. These links can be generated after the product is created and used on your website or in marketing materials.
Service Setup
For service-based offerings:
- Choose "Create Service" from the Services tab
- Provide a detailed service description
- Set your base rate
- Configure any service-specific tax rules
- Add any standard terms or conditions
Consider creating different service tiers if you offer varying levels of support or expertise. This makes proposal creation much faster later on.
Payment Processing Configuration
Payment setup requires careful attention to ensure you can receive funds efficiently. FreshBooks offers two main options:
FreshBooks Payments Setup
- Navigate to Settings > Connections and Integrations
- Select Online Payments
- Choose FreshBooks Payments
- Complete the verification process
- Configure your preferred payment methods
Consider enabling ACH payments for large transactions - the lower fees can significantly impact your bottom line.
PayPal Integration
If you prefer PayPal:
- Ensure you have a PayPal Business account
- Navigate to the Online Payments section
- Select PayPal integration
- Follow the authentication process
- Test the connection with a small transaction
Professional Document Creation
Proposal System Configuration
FreshBooks' proposal system helps you win more business with professional documentation:
- Upload your company branding assets
- Create proposal templates for common services
- Set up your standard terms and conditions
- Configure automatic follow-up settings
- Create signature blocks for legal documentation
Remember to include clear scope definitions and payment terms in your proposal templates to avoid misunderstandings later.
Invoice Customization
Customize your invoice settings for professional presentation:
- Design your invoice template with your branding
- Set up automatic payment reminders
- Configure late payment fees if desired
- Create standard payment terms
- Set up recurring templates for regular clients
Time Tracking Implementation
For service-based businesses, proper time tracking setup is crucial:
- Create project templates for common work types
- Set up service-specific billing rates
- Configure team member permissions and rates
- Set up expense tracking categories
- Enable mobile app access for team members
Project Rate Configuration
Consider your billing structure carefully:
- Determine whether to use flat or hourly rates
- Set up different rates for various services
- Configure team member-specific rates
- Set up expense markup rules
- Create standard project milestones
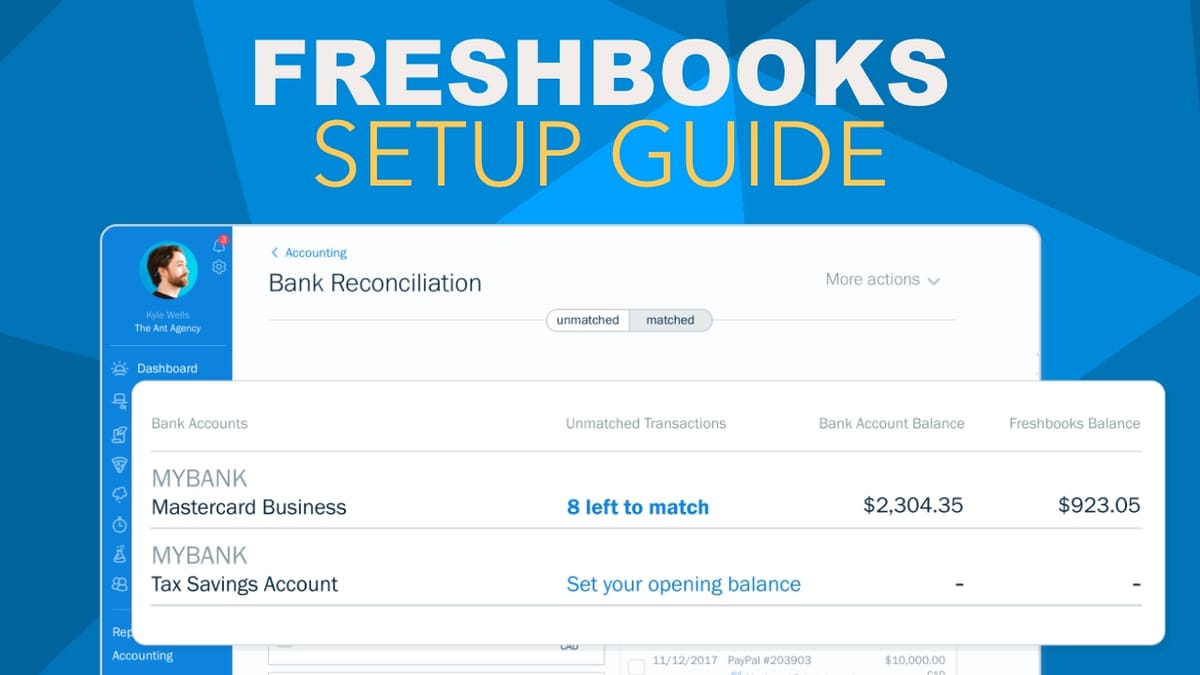
Financial Integration Setup
Connect your financial accounts for comprehensive tracking:
- Navigate to the Banking section
- Select your financial institutions
- Complete the secure connection process
- Set up transaction categorization rules
- Configure receipt forwarding
Report Configuration
Customize your financial reporting:
- Set up your chart of accounts
- Configure standard report templates
- Set up automated report scheduling
- Create custom report categories
- Configure export settings for your accounting system
Payroll System Integration
If you're using payroll features:
- Choose between FreshBooks Payroll or Gusto
- Set up employee profiles
- Configure tax settings
- Set up payment schedules
- Enable direct deposit
FreshBooks Payroll Setup
For native payroll:
- Navigate to the Payroll section
- Complete the employer registration
- Add employee information
- Configure tax settings
- Set up payment schedules
Advanced Features and Integrations
Once the basics are configured, explore advanced features:
- Set up project templates
- Configure automated workflows
- Enable team collaboration features
- Set up client portals
- Configure app integrations
Maintenance and Updates
Establish a regular maintenance schedule:
- Review and update pricing monthly
- Check and update payment methods quarterly
- Review and optimize automated workflows
- Update team member access and permissions
- Audit financial connections and categories
Getting Help
FreshBooks offers multiple support channels:
- In-app help documentation
- Live chat support
- Phone support
- Email support
- Community forums
Remember to bookmark the FreshBooks support center for quick access to help resources.
Next Steps
After completing this setup guide, your FreshBooks account should be fully configured for your business needs. Regular reviews and adjustments will help ensure the system continues to serve your business effectively as it grows.
Need more guidance? Start your free trial and get access to FreshBooks' support team for personalized setup assistance.
This technical guide was last updated on February 12, 2025, to reflect the latest FreshBooks features and interface.


