Eventin LTD Back on AppSumo! Online & Live Event Ticket Sales
Transform your events into success stories with this powerful WordPress ticketing plugin. Sell tickets, manage RSVPs, and host seamlessly.
TL;DR

Eventin
Powerful WordPress event ticketing
Eventin is a versatile WordPress plugin that simplifies the process of selling tickets for both online and in-person events, such as web summits, concerts, and classes. It offers advanced features like QR code tickets, Zoom and Google Meet integration, and customizable event pages.
Get EventinIntroduction
In this video, we explore Eventin, a powerful WordPress plugin that simplifies the process of selling tickets for both online and in-person events. Whether you’re organizing a web summit, a rock concert, or a yoga class, Eventin provides a comprehensive set of tools to manage your event, sell tickets, and even generate QR code tickets for seamless entry. Initially, Eventin may seem overwhelming due to its extensive features and customization options. However, with this step-by-step guide, you’ll learn how to set up and launch your first event within a short period, potentially even paying for the plugin within the first few weeks of use. We’ll cover the AppSumo deal, the setup process, vernacular used in Eventin, adding speakers and schedules, creating events, customizing the front end, and integrating with various page builders.
Start [00:00]
- Eventin is a versatile WordPress plugin that enables users to sell tickets for a wide range of events, from online web summits to in-person rock concerts.
- The plugin offers advanced features like QR code tickets, allowing attendees to scan their tickets at the door for a professional and seamless experience.
- Eventin is suitable for businesses of all sizes, whether you’re running events from a music lesson studio or a yoga studio.
- While the plugin is powerful, it can be overwhelming at first sight due to its extensive features and customization options.
- The video aims to help users get up and running with Eventin quickly, potentially even paying for the deal within the first couple of weeks of using the plugin on their website.
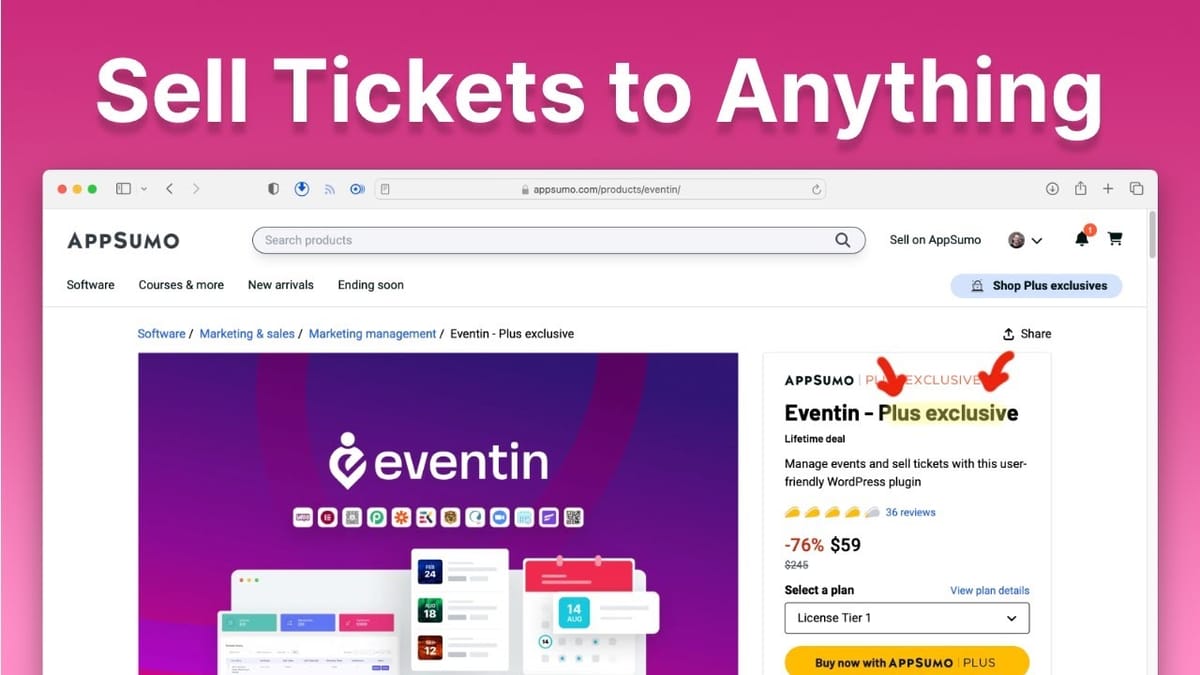
AppSumo Deal
- Eventin is currently available on AppSumo for a limited time, with the deal ending in just under two weeks.
- The AppSumo deal is very affordable compared to SaaS-based event ticketing solutions, with a one-time purchase starting at $59 for five sites and unlimited use.
- The deal is tiered based on the number of sites you need to use Eventin on, with options for 5, 10, or unlimited sites.
- Solo entrepreneurs can opt for the tier one plan (5 sites), while agencies serving clients should consider tier two (10 sites) or tier three (unlimited sites).
- After purchasing the deal, you’ll receive a plugin file that you can download and install on your WordPress website.
Setup Process [02:12]
- The setup process for Eventin is divided into two main steps: back-end setup and front-end customization.
- Back-end setup involves loading events, adding speakers, and creating schedules, while front-end customization focuses on the user-facing aspects of the website, such as event listings and ticket purchases.
- To begin, install the Eventin plugin by navigating to the WordPress admin area, clicking on “Plugins,” then “Add New,” and uploading the zip file obtained from the Eventin website.
- Once the plugin is installed, you’ll see a new “Eventin” option in the left-hand sidebar of your WordPress admin area.
Integrations
- If you plan to host online events, Eventin supports integration with Zoom and Google Meet.
- To connect these services, go to the “Integrations” tab under the “Eventin” settings and toggle on the desired option (Zoom or Google Meet).
- Follow the step-by-step documentation provided by Eventin to obtain the necessary API keys and connect your account.
- Connecting these services allows Eventin to communicate with Zoom or Google Meet, ensuring that attendees can access the event seamlessly after purchasing tickets.
Payment Setup
- To accept payments for your event tickets, you can set up WooCommerce or use Stripe directly within Eventin.
- Using WooCommerce is recommended, as it provides a built-in account system that allows attendees to create an account when making a purchase, making it easier for them to access their tickets later.
- If you choose to use Stripe directly, you’ll need to enter your Stripe API keys in the “General Settings” tab under the “Woo/Purchase Settings” section.
- Customize the payment settings according to your preferences, such as redirecting users to the checkout page after adding an event to their cart, enabling invoice printing or downloading on the thank you page, and requiring login for purchases.
Vernacular [06:26]
- Eventin uses specific terminology throughout the plugin, which may be confusing depending on your use case.
- The two main terms used are “events” and “speakers.”
- An “event” refers to the main thing that people are coming to see, such as a concert, class, or seminar.
- A “speaker” is the person or group presenting or performing at the event, such as a band, instructor, or presenter.
- While the terminology cannot be changed, you can modify the slug (the part of the URL that shows up) for events and speakers to better suit your needs.
- To change the slug, go to the “Settings” tab under “Eventin,” then click on “Slug Settings,” and update the event and speaker slug names accordingly (e.g., “class” and “instructor” for yoga classes, or “concert” and “band” for rock concerts).
Adding “Speakers” [07:43]
- To add speakers (or instructors, performers, etc.) to your event, navigate to the “Speakers” tab under “Eventin” and click on “Add New.”
- Fill out the necessary fields, including the speaker’s name, designation (title), email address, bio, social media information, company logo, and company URL.
- While adding speakers is optional, doing so early in the process can make event creation smoother.
- Categorize your speakers using the built-in categories (organizer and speaker) or create custom categories that better suit your event type (e.g., instructor, performer, magician).
- Don’t forget to add a featured image for each speaker, as this will be displayed when showcasing the speakers in your event listings.
- After adding the featured image, click the “Update” button and preview the speaker’s individual card to ensure it looks as desired.
Creating a “Schedule” [09:37]
- Eventin distinguishes between “events” and “schedules,” which can be confusing initially.
- A “schedule” refers to what’s happening inside an event, such as the timeline of activities or performances.
- To create a schedule, go to the “Schedules” tab under “Eventin” and click on “Add New.”
- Give your schedule a name (e.g., “Web Summit Schedule”) and select the day of the week it corresponds to.
- Add schedule slots, specifying the topic or activity name, start time, duration, room or location, and the associated speaker.
- Continue adding slots until you have a complete schedule for the day.
- Publish the schedule once you’ve finished adding all the necessary information.
Creating “Events” [11:41]
- With your speakers and schedules set up, it’s time to create the actual event.
- Navigate to the “Events” tab under “Eventin” and click on “Add New.”
- Give your event a title (e.g., “Ultra Mega Web Summit”) and choose the schedule type (with or without a speaker).
- If your event has speakers, select the relevant schedules you created earlier.
- Enable the “Virtual Product” option to sell tickets through WooCommerce (no additional setup required in WooCommerce).
- Fill out the event details, including the venue/location, date and time, ticket pricing and variations, and any other relevant information.
- Set up ticket pricing by enabling “Limited Tickets,” specifying the total number of tickets available, and creating ticket variations (e.g., general admission, VIP) with their respective prices and quantities.
- If your event is online, enable the Zoom or Google Meet integration (depending on which service you’re using) to generate the event URL automatically.
- Add an FAQ section to provide attendees with answers to common questions about the event.
- Customize the event’s appearance by adding a logo, changing colors, or linking to an external event page (if desired).
- Publish the event to make it live on your website.
The Front End [18:47]
- After publishing your event, preview it to see how it looks with the default template.
- Eventin offers a wide range of customization options for displaying events and creating event listings.
- To explore the various layout and design options, visit the Theme Winter website and navigate to the Eventin demo page.
- The demo page showcases features like countdown timers, event grids, event filters, speaker lists, and more.
- Customize your event pages by selecting a different template under “Eventin” > “Settings” > “General Settings” > “Event Template.”
- Experiment with different templates to find the one that best suits your event and branding.
- You can also customize speaker templates to ensure the speaker photos and information are displayed attractively.
Page Customization [21:59]
- Eventin provides several options for customizing event pages and listings beyond the built-in templates.
- If you’re using the Gutenberg editor, you can add Eventin-specific blocks to your pages by clicking the plus button and searching for “Eventin.”
- There are five dedicated blocks for displaying speaker lists, event lists, and more.
- Customize the layout and style of these blocks directly within the Gutenberg editor to match your website’s design.
Native Page Builder Support [22:52]
- Eventin natively supports popular page builders like Elementor, Divi, Bricks, and Oxygen.
- To use Eventin with these page builders, navigate to “Eventin” > “Add-ons” and install the corresponding add-on (if available).
- Elementor elements are built-in and require no additional setup.
- If you’re using a page builder not natively supported by Eventin, you can still use shortcodes to display event information.
- Eventin provides a comprehensive shortcode builder under the “Shortcodes” tab, allowing you to generate shortcodes for event countdowns, speaker lists, event lists, and more.
- Customize the shortcodes using the available options and paste them into your desired page or post.
Add-ons and Certificates
- Eventin offers add-ons for other plugins, such as BuddyBoss, to extend its functionality.
- The plugin also includes a certificate builder, allowing you to offer certificates to attendees who complete your event or course.
- While the certificate builder is not covered in this video, it’s a powerful feature that can add value to your events.
Conclusion [25:17]
- Eventin is a feature-rich WordPress plugin that simplifies the process of selling tickets for both online and in-person events.
- While the plugin may seem overwhelming initially, this video has provided a step-by-step guide to help you get your events set up and running smoothly.
- Take the time to explore Eventin’s features and customization options to create event pages that align with your branding and requirements.
- If you have any questions or need assistance, feel free to ask in the comments section, and the creator will be happy to help you out.
- Remember to check out the AppSumo deal using the link in the description to take advantage of the limited-time offer.
Eventin
Powerful WordPress event ticketing
Eventin is a versatile WordPress plugin that simplifies the process of selling tickets for both online and in-person events, such as web summits, concerts, and classes. It offers advanced features like QR code tickets, Zoom and Google Meet integration, and customizable event pages.
Get EventinKey Takeaways
- Eventin is a versatile WordPress plugin that enables users to sell tickets for various events, from online web summits to in-person concerts and classes.
- The plugin offers advanced features like QR code tickets, Zoom and Google Meet integration, and customizable event pages.
- The setup process involves installing the plugin, configuring integrations and payment settings, adding speakers and schedules, and creating events.
- Eventin uses specific terminology, such as “events” and “speakers,” which can be customized using the slug settings.
- When creating an event, you can set up ticket pricing, variations, and limits, as well as integrate with Zoom or Google Meet for online events.
- Eventin provides a wide range of customization options for displaying events and creating event listings, including built-in templates, Gutenberg blocks, and shortcodes.
- The plugin natively supports popular page builders like Elementor, Divi, Bricks, and Oxygen, making it easy to integrate with your existing website design.
- Eventin also offers add-ons for other plugins and a certificate builder to extend its functionality and add value to your events.
- While the plugin may seem overwhelming at first, taking the time to explore its features and customization options will help you create professional and engaging event pages.
- If you have any questions or need assistance, don’t hesitate to ask for help, and remember to take advantage of the limited-time AppSumo deal using the link in the description.
Get Eventin now on AppSumo before the deal ends!
Need help setting up your event website or customizing Eventin to your needs? Hire me to work on your project and ensure a smooth and professional experience for your attendees.


